Woodworker's Journal 2004 Summer, страница 39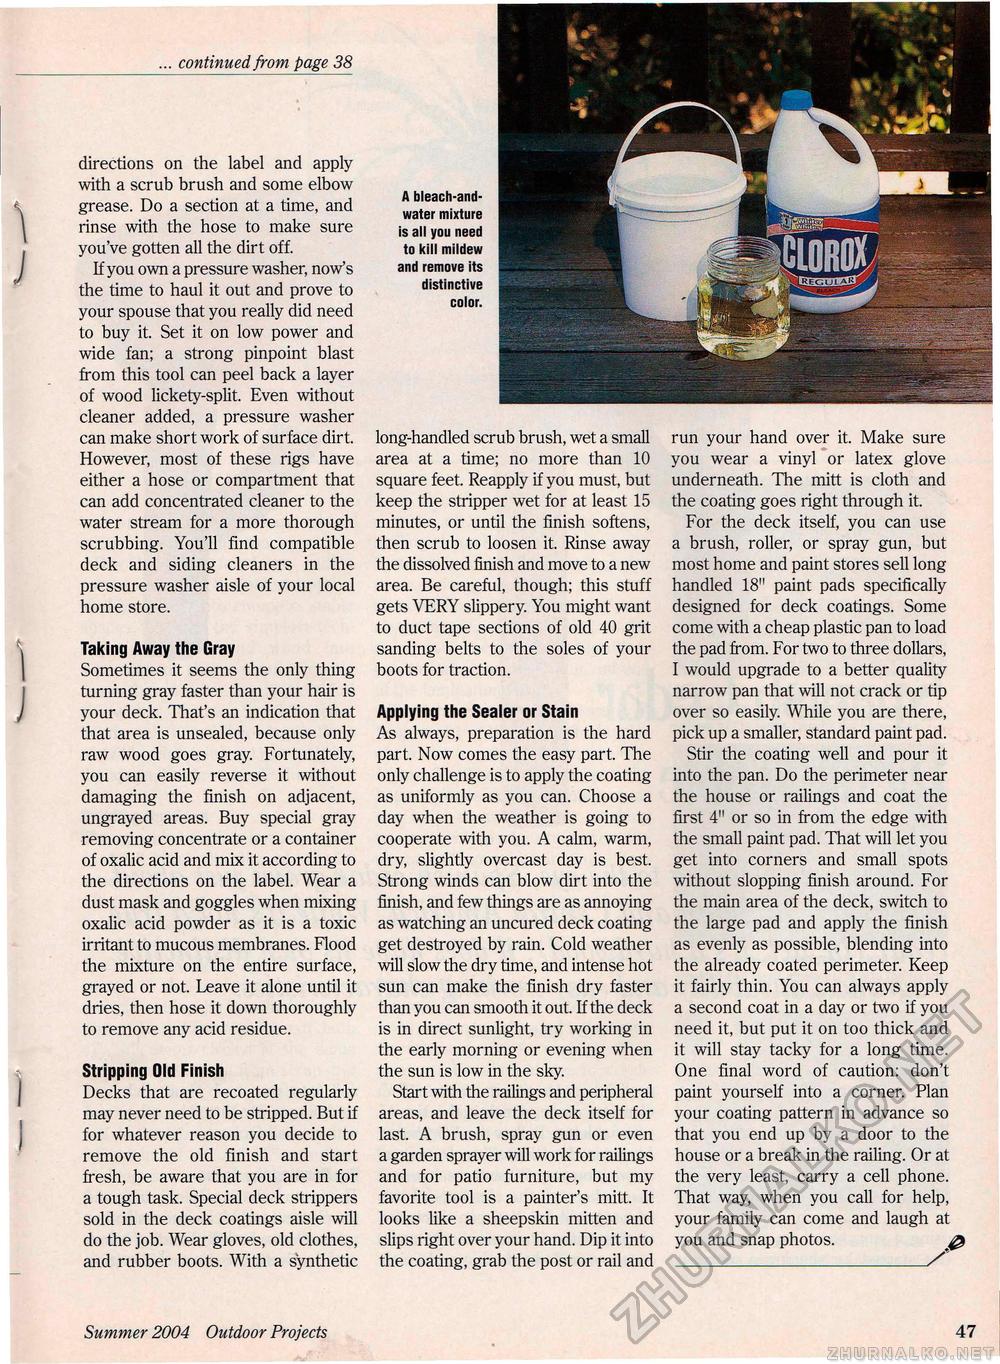
... continued from page 38 \ J directions on the label and apply with a scrub brush and some elbow grease. Do a section at a time, and rinse with the hose to make sure you've gotten all the dirt off. If you own a pressure washer, now's the time to haul it out and prove to your spouse that you really did need to buy it. Set it on low power and wide fan; a strong pinpoint blast from this tool can peel back a layer of wood lickety-split. Even without cleaner added, a pressure washer can make short work of surface dirt. However, most of these rigs have either a hose or compartment that can add concentrated cleaner to the water stream for a more thorough scrubbing. You'll find compatible deck and siding cleaners in the pressure washer aisle of your local home store. A bieach-and-water mixture is all you need to kill mildew and remove its distinctive color. Taking Away the Gray Sometimes it seems the only thing turning gray faster than your hair is your deck. That's an indication that that area is unsealed, because only raw wood goes gray. Fortunately, you can easily reverse it without damaging the finish on adjacent, ungrayed areas. Buy special gray removing concentrate or a container of oxalic acid and mix it according to the directions on the label. Wear a dust mask and goggles when mixing oxalic acid powder as it is a toxic irritant to mucous membranes. Flood the mixture on the entire surface, grayed or not. Leave it alone until it dries, then hose it down thoroughly to remove any acid residue. Stripping Old Finish Decks that are recoated regularly may never need to be stripped. But if for whatever reason you decide to remove the old finish and start fresh, be aware that you are in for a tough task. Special deck strippers sold in the deck coatings aisle will do the job. Wear gloves, old clothes, and rubber boots. With a synthetic long-handled scrub brush, wet a small area at a time; no more than 10 square feet. Reapply if you must, but keep the stripper wet for at least 15 minutes, or until the finish softens, then scrub to loosen it. Rinse away the dissolved finish and move to a new area. Be careful, though; this stuff gets VERY slippery. You might want to duct tape sections of old 40 grit sanding belts to the soles of your boots for traction. Applying the Sealer or Stain As always, preparation is the hard part. Now comes the easy part. The only challenge is to apply the coating as uniformly as you can. Choose a day when the weather is going to cooperate with you. A calm, warm, dry, slightly overcast day is best. Strong winds can blow dirt into the finish, and few things are as annoying as watching an uncured deck coating get destroyed by rain. Cold weather will slow the dry time, and intense hot sun can make the finish dry faster than you can smooth it out. If the deck is in direct sunlight, try working in the early morning or evening when the sun is low in the sky. Start with the railings and peripheral areas, and leave the deck itself for last. A brush, spray gun or even a garden sprayer will work for railings and for patio furniture, but my favorite tool is a painter's mitt. It looks like a sheepskin mitten and slips right over your hand. Dip it into the coating, grab the post or rail and run your hand over it. Make sure you wear a vinyl or latex glove underneath. The mitt is cloth and the coating goes right through it. For the deck itself, you can use a brush, roller, or spray gun, but most home and paint stores sell long handled 18" paint pads specifically designed for deck coatings. Some come with a cheap plastic pan to load the pad from. For two to three dollars, I would upgrade to a better quality narrow pan that will not crack or tip over so easily. While you are there, pick up a smaller, standard paint pad. Stir the coating well and pour it into the pan. Do the perimeter near the house or railings and coat the first 4" or so in from the edge with the small paint pad. That will let you get into corners and small spots without slopping finish around. For the main area of the deck, switch to the large pad and apply the finish as evenly as possible, blending into the already coated perimeter. Keep it fairly thin. You can always apply a second coat in a day or two if you need it, but put it on too thick and it will stay tacky for a long time. One final word of caution: don't paint yourself into a corner. Plan your coating pattern in advance so that you end up by a door to the house or a break in the railing. Or at the very least, carry a cell phone. That way, when you call for help, your family can come and laugh at you and snap photos. & _/ Summer 2004 Outdoor Projects 47 |


